How to Make a Nether Portal Using a Lava Pool and Water Bucket
To build a Nether portal without a diamond pickaxe, you must "cast" obsidian in place using a natural lava pool. The core process involves:
- Finding a lava pool with at least 10 source blocks.
- Placing a placeholder block at the edge of the pool.
- Placing water against the placeholder block to create the obsidian base.
- Building a 3-block high "L-shape" backboard to control water flow.
- Scooping lava with an empty bucket and placing it into the flowing water to form the frame.
Gaining access to the Nether is a critical milestone in any Minecraft survival world. Traditionally, players spend hours mining deep underground to find three diamonds, crafting a diamond pickaxe, and painstakingly mining ten blocks of obsidian. However, as the game's mechanics have been thoroughly analyzed over the years, a much faster method has emerged as a standard practice.
By utilizing the game's fluid mechanics, you can create a Nether portal directly on the surface using nothing more than a bucket of water and a natural lava pool. This technique, widely popularized by the speedrunning community, allows players to enter the Nether within minutes of starting a new world. This guide will walk you through the exact block placements, fluid dynamics, and troubleshooting steps required to master this highly efficient method.
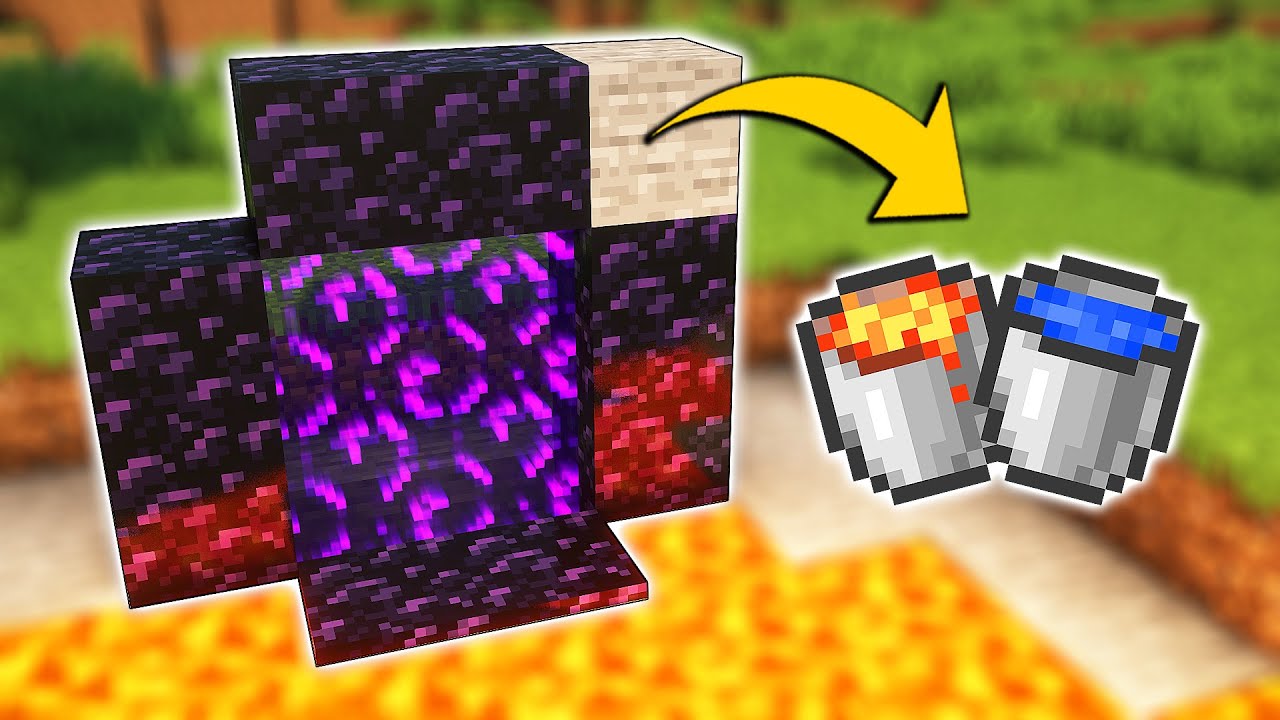
Image source: YouTube
Why Use a Lava Pool Instead of a Diamond Pickaxe?
The traditional progression route in Minecraft is linear: gather wood, upgrade to stone tools, find iron, mine diamonds, and finally harvest obsidian. While this path is reliable, it is exceptionally time-consuming. Mining obsidian with a diamond pickaxe takes exactly 9.4 seconds per block. For a standard 10-block portal, that is nearly two minutes of holding down the mining button—and that does not account for the time spent searching for the diamonds in the first place.
The lava pool casting method bypasses the diamond tier entirely. Instead of mining obsidian, you are manufacturing it exactly where you want the portal frame to stand. When a water block flows over a lava source block, the game engine instantly updates the lava block into obsidian. By controlling where the water flows, you can "pour" your portal frame block by block.
This strategy ranks among the top methods for early-game progression. According to competitive speedrunning standards, an experienced player can construct a full portal using this method in under 15 seconds. Even for casual survival players, skipping the diamond mining phase offers a significant advancement in routing, allowing you to access Nether quartz for experience or blaze rods for brewing much earlier in your playthrough.
| Method | Tools Required | Average Time Investment | Risk Level |
|---|---|---|---|
| Diamond Pickaxe | 3 Diamonds, 2 Sticks, Iron Pickaxe | 15–30 minutes (mining & searching) | High (Cave exploration, creepers, deep lava) |
| Lava Casting | 1 Water Bucket, 10 Lava Sources | 1–3 minutes (surface exploration) | Low (Surface level, minimal mob exposure) |
What Do You Need Before You Start?
Before you attempt to cast a portal, you must gather a specific set of materials. Attempting this method without the proper preparation can result in losing your water source or accidentally turning the entire lava pool into unusable cobblestone.
Here is the essential inventory checklist for the lava pool method:
- One Iron Bucket: Crafted from three iron ingots. You will use this to hold your water source, and later, to transport lava from the pool to the portal frame.
- A Water Source: Fill your bucket with water from a river, ocean, or surface pond.
- A Lava Pool (10+ Sources): The pool must contain at least 10 distinct lava source blocks. A standard, cornerless Nether portal requires exactly 10 blocks of obsidian.
- 20-30 "Trash" Blocks: You need solid blocks to build the temporary backboard that controls the water flow. Dirt, cobblestone, or netherrack work perfectly. Avoid using wood or wool, as the nearby lava will cause them to catch fire.
- A Pickaxe (Stone or Iron): While you don't need a diamond pickaxe, you still need a basic pickaxe to break your temporary blocks or to clear out any accidental cobblestone you might generate during the process.
- Flint and Steel (Optional): Used to ignite the portal once the frame is complete. If you do not have iron or flint, we will cover an alternative lighting method later in this guide.
According to the official Minecraft Wiki documentation on Nether portals, a minimum of 10 obsidian blocks is required to create a functional 2x3 inner-dimension frame. Ensure your chosen lava pool is large enough to supply this exact amount.
How to Find a Surface Lava Pool Quickly
The efficiency of this method relies heavily on finding a lava pool quickly. While you can perform this trick underground, doing it on the surface is generally safer and faster.
Surface lava pools generate randomly across the Overworld, but they are significantly easier to spot in specific biomes. Deserts, Savannas, and Plains biomes offer clear lines of sight, making it easy to spot the bright orange glow of a lava pool from a distance. In dense forests or jungles, tree cover can obscure pools until you are right on top of them.
If you are playing on newer versions of Minecraft (post-Caves & Cliffs update), the underground generation has changed significantly. If you cannot find a surface pool, your next best option is to dig down to Y-level -54. At this depth, massive lava lakes generate frequently in the deep slate layer. However, building a portal underground requires clearing out a larger workspace to ensure the water flows correctly.
When working around lava, always hold the "Sneak" key (Shift on PC, right stick click on consoles). This prevents you from accidentally walking off the edge of a block and falling into the pool. A single misstep during the casting process can result in the loss of all your items.
Step-by-Step Instructions for the Speedrunner Method
This specific sequence of block placements is widely regarded as one of the most efficient ways to cast a portal. It minimizes the risk of water spreading out of control and allows you to place the lava blocks in rapid succession.
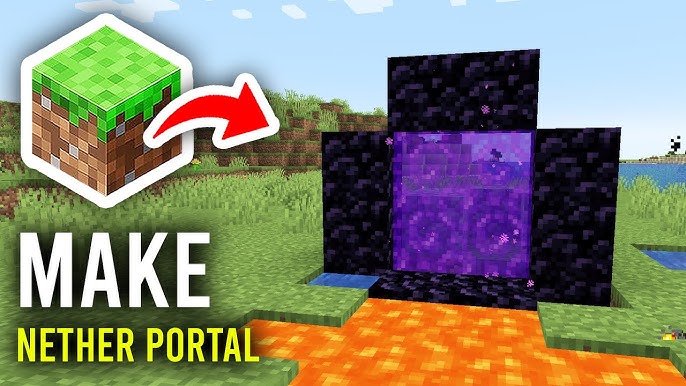
Image source: YouTube
Step 1: Placing the Placeholder Block
Locate a straight edge along your lava pool that is at least four blocks wide. Choose a spot near the middle of this edge. Place one solid block (like dirt or cobblestone) directly into the lava, exactly one block away from the solid shore. This block will act as the anchor for your water placement.
Step 2: Creating the Obsidian Base
Equip your water bucket. Aim your crosshair at the side of the placeholder block you just placed (the side facing the rest of the lava pool). Right-click to place the water. The water will flow downward and outward, instantly converting the adjacent lava source blocks into obsidian. You now have the bottom two blocks of your portal frame. Immediately scoop the water back up into your bucket.
Step 3: Building the "L-Shape" Backboard
You must now build a temporary structure to guide the water for the sides and top of the portal. Stand on the solid shore facing your two obsidian blocks.
- Mine the placeholder block you placed in Step 1.
- On the block directly to the left or right of your obsidian base, build a pillar three blocks high using your trash blocks.
- On the top block of that pillar, place one block extending outward, directly over the obsidian base.
- Place two blocks on the opposite side of the base to act as a wall, preventing water from spilling backward.
This structure should resemble an upside-down "L" hanging over your portal base.
Image source: YouTube
Step 4: Establishing the Water Flow
Climb up slightly or jump, and place your water source on the underside of the overhang block (the top of the L-shape). The water will flow down the side of the pillar and spread across the front of your intended portal area. Because of the walls you built, the water is contained in a specific vertical sheet.
Step 5: Casting the Frame
With the water flowing, your bucket is now empty. Look down into the lava pool and scoop up a lava source block. Aim your crosshair at the side of the pillar inside the flowing water and place the lava. The moment the lava leaves your bucket, the flowing water will hit it, instantly turning it into obsidian.
Repeat this process: scoop lava, place it in the water stream to build the three blocks on the left side, the three blocks on the right side, and the two blocks across the top. Once all 10 blocks are placed, scoop up the water source from the top of the overhang. The water will clear, revealing your completed Nether portal frame.
How to Light the Portal Without Flint and Steel
A common hurdle in the early game is completing the portal frame but lacking the iron or flint necessary to craft Flint and Steel. Fortunately, the game's fire mechanics provide a reliable workaround known as the "fire spread" method.
In Minecraft, fire can spread from a lava source to nearby flammable blocks. When a flammable block catches fire, the fire block itself has a chance to update the surrounding blocks. If a fire block generates inside a valid obsidian frame, it will ignite the portal.
To execute this technique, as detailed in various community strategy guides, follow these steps:
- Clear any dirt or stone from inside the portal frame.
- Place highly flammable blocks (wood planks, logs, or wool) inside the bottom of the portal frame.
- Place a block of dirt directly behind the portal frame to act as a backstop.
- Use your bucket to place a lava source block right next to the wood, ensuring the lava cannot flow out and burn you.
- Wait. The game's random tick speed will eventually cause the wood to catch fire. As the fire burns the wood, it will frequently ignite the portal frame.
Be patient; depending on the game's random tick updates, this process can take anywhere from five seconds to a full minute. Once the purple portal blocks appear, carefully scoop your lava back up to prevent accidental fires.
Common Mistakes and How to Fix Them
Fluid mechanics in Minecraft operate on a strict set of rules. When players attempt the lava pool method for the first time, they frequently encounter a few specific issues. Understanding how the game calculates fluid updates is the key to troubleshooting.
- Source Block
- A static block of fluid that can be picked up with a bucket. When water hits a lava source block, it creates Obsidian.
- Flowing Block
- The moving fluid that extends outward from a source block. When water hits flowing lava, it creates Cobblestone. When lava hits flowing water, it creates Stone.
- Ghost Block
- A visual glitch where a block appears to be placed on your screen, but the server has not registered it. Common when placing blocks too quickly on multiplayer servers or Bedrock edition.
The "Cobblestone Trap"
The most common mistake beginners make is accidentally generating cobblestone instead of obsidian. This happens when you place a lava bucket, but the water does not hit it immediately, allowing the lava to flow outward. When the water finally touches the flowing lava, it creates cobblestone, blocking your portal frame.
According to discussions on the r/Minecraft subreddit, the fix is simple: always ensure you are placing your lava bucket directly into an active water stream, against a solid block. If you make a mistake, use your stone pickaxe to mine the cobblestone, ensure the water is flowing correctly, and try again.
Fixing Shallow Lava Pools
Not all lava pools are deep. If you find a pool that is only one block deep, placing your initial water block will turn the surface lava into obsidian, but the blocks underneath will remain dirt or stone. A portal frame must be completely hollow to ignite.
If you encounter a shallow pool, you must manually dig out the blocks beneath your intended frame. While the water is flowing over the area, use your pickaxe to break the floor blocks, then manually place lava source blocks into the holes you just created. The flowing water above will instantly convert them to obsidian, completing the base.
The "One-Bucket" Recovery
If you accidentally place your water source directly into the lava pool without aiming at a block, the water source will be destroyed, leaving you with a bucket of air. If you only have one bucket, you must find another water source. To prevent this, always aim at the side of a solid block when placing water, never directly at the surface of the lava.
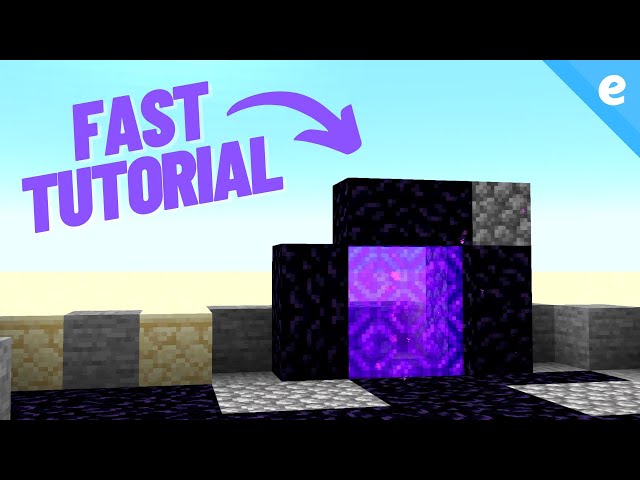
Image source: YouTube
Differences Between Minecraft Java and Bedrock Editions
While the core mechanics of lava casting remain the same across all versions of Minecraft, there are subtle engine differences between Java Edition (PC) and Bedrock Edition (Consoles, Mobile, Windows 10) that affect how this method is executed.
In Java Edition, fluid updates are processed incredibly fast. Speedrunners can "spam" click their lava bucket into the water stream, placing multiple blocks of obsidian in a fraction of a second. The game engine handles these rapid updates smoothly.
Bedrock Edition, however, processes fluid updates slightly differently to accommodate cross-platform performance. If you attempt to place lava blocks too quickly in Bedrock, the game may fail to register the water hitting the lava in time, resulting in accidental cobblestone generation or "ghost blocks" that disappear when you update them.
For Bedrock players, the key adjustment is rhythm. Instead of rapid-fire clicking, place each lava bucket with a deliberate half-second pause. Wait for the visual confirmation of the purple obsidian texture before scooping your next bucket of lava. This slightly slower pace ensures the Bedrock engine correctly calculates the fluid collision every time.
Frequently Asked Questions
How many lava buckets do I need for a portal?
Can I make a portal with only one bucket?
Why is my water turning lava into cobblestone?
Can I build a portal underwater?
What happens if I fall into the lava pool?
Final Takeaways for Building Portals Fast
Mastering the lava pool casting method is a highly impactful skill that fundamentally changes how you approach the early game in Minecraft. By bypassing the need for diamond tools, you save valuable time and resources. Keep these core principles in mind when attempting your next build:
- Verify your resources: Ensure your chosen pool has at least 10 distinct lava source blocks before beginning the casting process.
- Control the flow: Always use the 3-block high "L-shape" backboard to force the water into a predictable, vertical sheet.
- Aim carefully: Never place water directly onto the lava surface; always aim at the side of a solid placeholder block to prevent losing your water source.
- Pace yourself on Bedrock: If playing on console or mobile, place your lava blocks with a slight delay to prevent the engine from generating accidental cobblestone.
- Use fire spread as a backup: If you lack flint and steel, utilize wood planks and a contained lava source to ignite the frame naturally.