How to Open the West Office Safe in Resident Evil 2 Remake
The combination for the West Office safe in Resident Evil 2 Remake is:
Left 9, Right 15, Left 7Reward: Hip Pouch (+2 Inventory Slots). This code works for both Leon and Claire in the 1st and 2nd Run scenarios.
Navigating the Raccoon City Police Department (RPD) is a test of resource management and environmental awareness. Among the various puzzles scattered throughout the station, the West Office safe stands out as a high-priority objective. Located on the first floor (1F), this safe contains one of the few permanent upgrades available in the early game. Securing the contents of this safe is widely considered a top-tier strategy for players looking to minimize backtracking and manage their limited resources effectively.
While the code itself is straightforward, many players find themselves frustrated by the mechanical nuances of the safe's dial. In this guide, we will break down the exact steps to input the combination, troubleshoot common errors, and provide a comprehensive strategy for clearing the West Office without wasting precious ammunition.
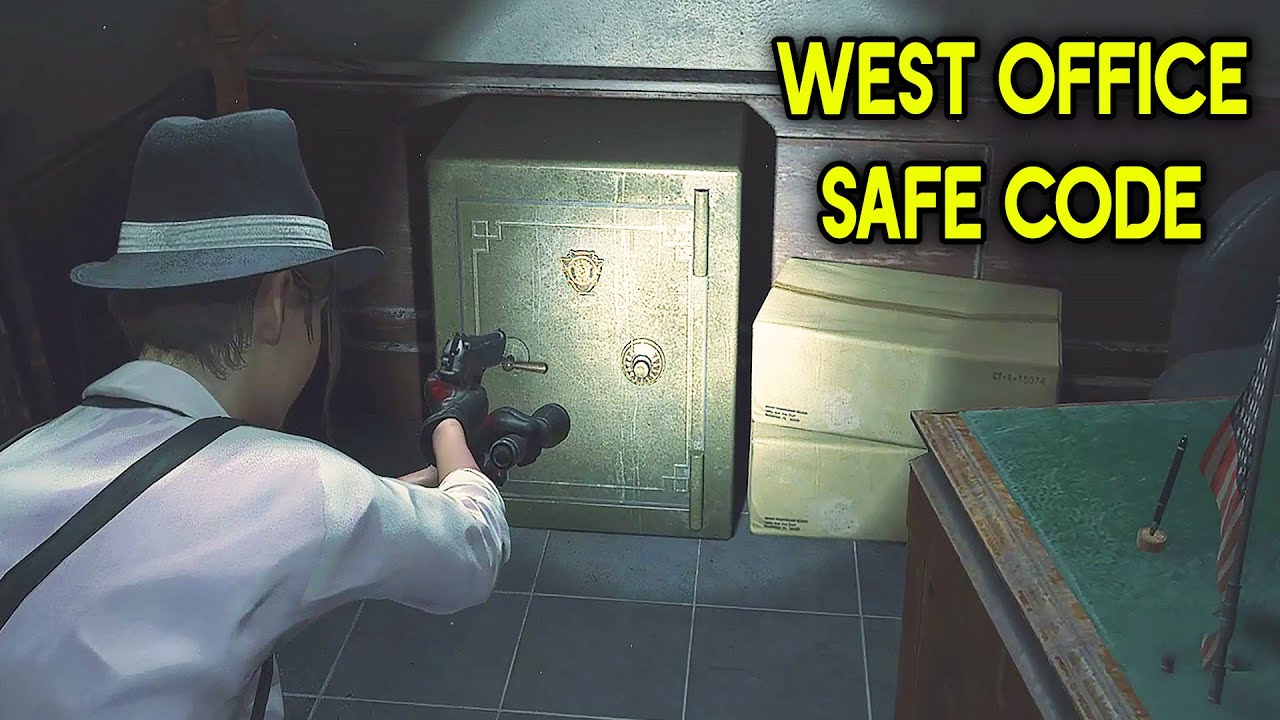
Image source: YouTube
Understanding the West Office Safe Combination and Mechanics
The West Office safe utilizes a traditional rotary dial system. Unlike modern digital locks, the game requires you to follow a specific directional sequence. According to IGN's comprehensive puzzle database, the combination is Left 9, Right 15, Left 7. However, simply knowing the numbers is only half the battle; the game's engine is quite strict about how these numbers are registered.
Step-by-Step Instructions for the 9-15-7 Sequence
To successfully open the safe, follow these precise movements using your controller's D-pad or analog stick (or the A and D keys on a keyboard):
- Rotate Left to 9: Move the dial counter-clockwise until the indicator lands on the number 9. Stop immediately.
- Rotate Right to 15: Without pressing any other buttons, rotate the dial clockwise. You will pass the zero mark and continue until you reach 15. Stop immediately.
- Rotate Left to 7: Rotate counter-clockwise again until you reach the number 7.
- Confirm: Only after the final number is reached should you press the "Action" button (X on PlayStation, A on Xbox, or F on PC) to open the door.
Why Your Safe Combination Might Not Be Working
If you have entered 9-15-7 and the safe remains locked, you are likely encountering one of the common mechanical pitfalls identified by the community on Steam Community threads. The most frequent error is pressing the "Confirm" button between numbers. In this game, the safe only registers the sequence if it is performed in one continuous interaction. Pressing the action button early resets the entire mechanism.
Another common issue is "overshooting" the number. If you are aiming for 15 but accidentally land on 16, you cannot simply nudge it back to 15. The game registers the direction change as a lock-in for the number you stopped on. If you pass your target, you must exit the safe menu entirely to reset the dial to zero and start over.
The Click Counting Method for Better Accuracy
For players using low-brightness settings or those who find the dial numbers difficult to read, the "Click Counting" method is a highly effective alternative. Every movement on the dial produces an audible "click" that corresponds to one numerical value. This method relies on the mechanical feedback of the game rather than visual confirmation.
Starting from the default position of 0, you can use the following logic to reach the correct numbers:
- First Step: Rotate Left for 9 clicks. You are now at 9.
- Second Step: Rotate Right for 24 clicks. This takes you 9 clicks back to zero, plus another 15 clicks to reach the target.
- Third Step: Rotate Left for 8 clicks. This moves you from 15 back down to 7.
This approach is particularly useful for speedrunners or players in high-tension situations where they may not want to squint at the screen. By focusing on the audio cues, you can unlock the safe with significant precision even in total darkness.
Strategic Benefits of the West Office Hip Pouch
The reward inside the West Office safe is the Hip Pouch, an item that provides a permanent increase of two slots to your inventory. In a game where you must carry weapons, ammunition, healing items, and key quest objects simultaneously, these two slots are exceptionally valuable. According to the Resident Evil Wiki, the West Office Hip Pouch is one of the earliest upgrades available, making it a priority for any efficient playthrough.
By expanding your inventory early, you reduce the frequency of trips to the Item Box in the Main Hall. This not only saves time—crucial for achieving an S-Rank—but also reduces the risk of encountering Mr. X or other hazards during unnecessary backtracking. The Hip Pouch essentially acts as a "power spike" for your resource management capabilities, allowing you to carry both the Shotgun/Grenade Launcher and the necessary puzzle items without constantly discarding useful supplies.
Complete Room Strategy for the RPD West Office
The West Office is more than just a safe location; it is a dense environment filled with items, lore, and a specific environmental hazard. Entering this room unprepared can lead to unnecessary damage or wasted resources. To clear the room efficiently, you should handle the "Sleeper Zombie" and Leon’s desk locks in a single visit.
Neutralizing the West Office Sleeper Zombie
As you approach the side office containing the safe, you will notice a zombie slumped on the floor. This is a "sleeper" enemy. It will remain dormant until you either interact with the safe or pick up the Hip Pouch. Many players are startled by this jump-scare, leading to a panicked waste of ammo.
A more efficient tactic is to deal with the zombie before touching the safe. Using your knife to slash at the zombie while it is on the ground is a top-rated method for neutralizing the threat without spending a single handgun bullet. If you are playing on Hardcore difficulty, where resources are even tighter, this small optimization can make a significant difference in your long-term survival.
Unlocking Leon’s Desk with the NED and MRG Codes
In the center of the West Office sits a large desk belonging to Leon S. Kennedy, secured by two dial locks. The clues for these locks are found on the desks of Leon's colleagues. To save you the trouble of searching the room while being stalked by zombies, the codes are based on the first initials of the officers' names:
| Lock Location | Combination | Leon's Reward | Claire's Reward |
|---|---|---|---|
| Left Lock | NED | High-Capacity Mag (Matilda) | Speed Loader (SLS 60) |
| Right Lock | MRG | High-Capacity Mag (Matilda) | Speed Loader (SLS 60) |
| Safe (Corner) | 9-15-7 | Hip Pouch | Hip Pouch |
Unlocking the desk in tandem with the safe ensures that you maximize the value of your visit to the West Office. For Leon, the High-Capacity Magazine is a significant advancement for his starting pistol, while Claire benefits from the Speed Loader, which drastically reduces the reload time for her revolver.
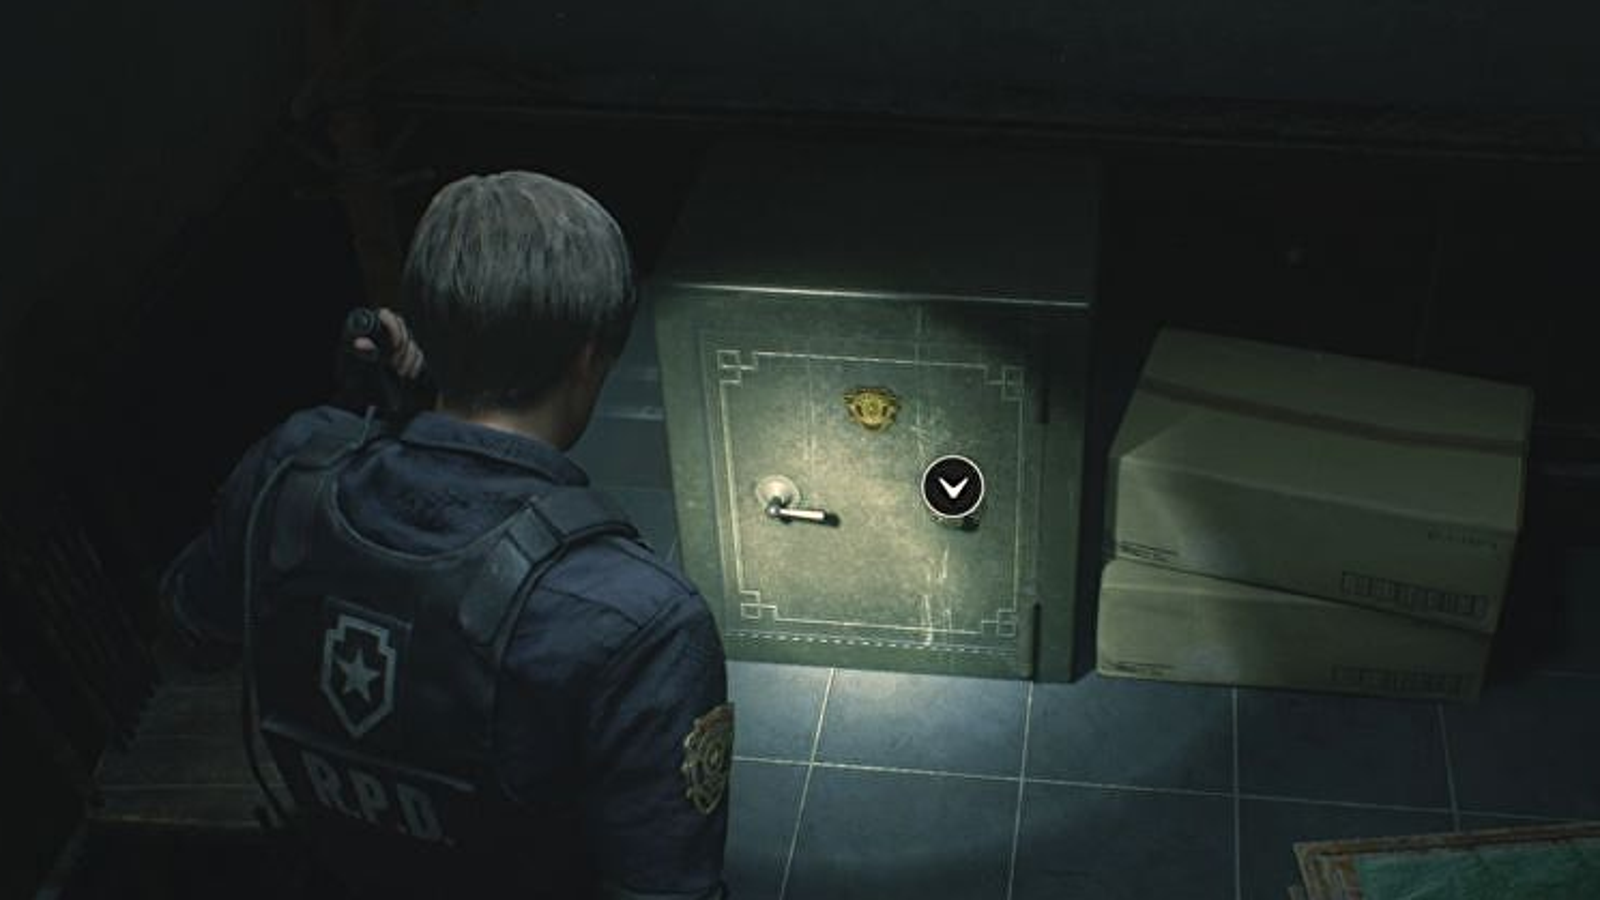
Image source: Eurogamer
Finding the Combination and Lore in the RPD
For those who prefer to find the solutions organically, the hint for the West Office safe is located in the S.T.A.R.S. Office on the second floor (2F). Inside the small side office belonging to Albert Wesker, you will find an "Internal Memo" that explicitly lists the combination. However, as noted by Eurogamer's guide, you do not actually need to read this memo for the safe to become interactable. You can open the safe the very first time you enter the West Office, provided you know the code.
This is a vital tip for speedrunners and veteran players. By skipping the trip to the S.T.A.R.S. office until later, you can secure the Hip Pouch much earlier in the game, making the entire first act of the RPD exploration significantly smoother. This type of sequence-breaking is a hallmark of the Resident Evil series and is highly recommended for anyone looking to optimize their playtime.
Frequently Asked Questions About RPD Safes
Does the West Office safe code change in the 2nd Run (Scenario B)?
What happens if I accidentally pass the number on the dial?
Is the Hip Pouch the only reward in the West Office safe?
Can I open the safe if Mr. X is in the room?
Are there other safes in the RPD with different codes?
Final Takeaways for Mastering the West Office
Summary of the West Office Safe
Unlocking the West Office safe is a foundational step for any successful run of Resident Evil 2 Remake. By securing the Hip Pouch early, you set yourself up for a much smoother experience throughout the RPD and beyond.
- The Combination: Always use 9-15-7 (Left, Right, Left) for all characters and scenarios.
- Input Precision: Do not press the confirm button until all three numbers are entered; overshooting a number requires a full reset.
- Inventory Value: The +2 slots from the Hip Pouch are essential for reducing backtracking and managing key items.
- Hazard Management: Neutralize the sleeper zombie near the safe with a knife before you start dialing to avoid a jump-scare.
- Efficiency: You can skip finding the hint in the S.T.A.R.S. office and open the safe immediately upon arrival.
- Room Completion: Remember to also unlock Leon's desk using the codes NED and MRG for weapon upgrades.
For your next step, head to the second floor and use the Waiting Room safe code (6-2-11) to further enhance your arsenal before venturing into the deeper parts of the station.