How to Unlock and Style Every Gazebo in Animal Crossing: New Horizons
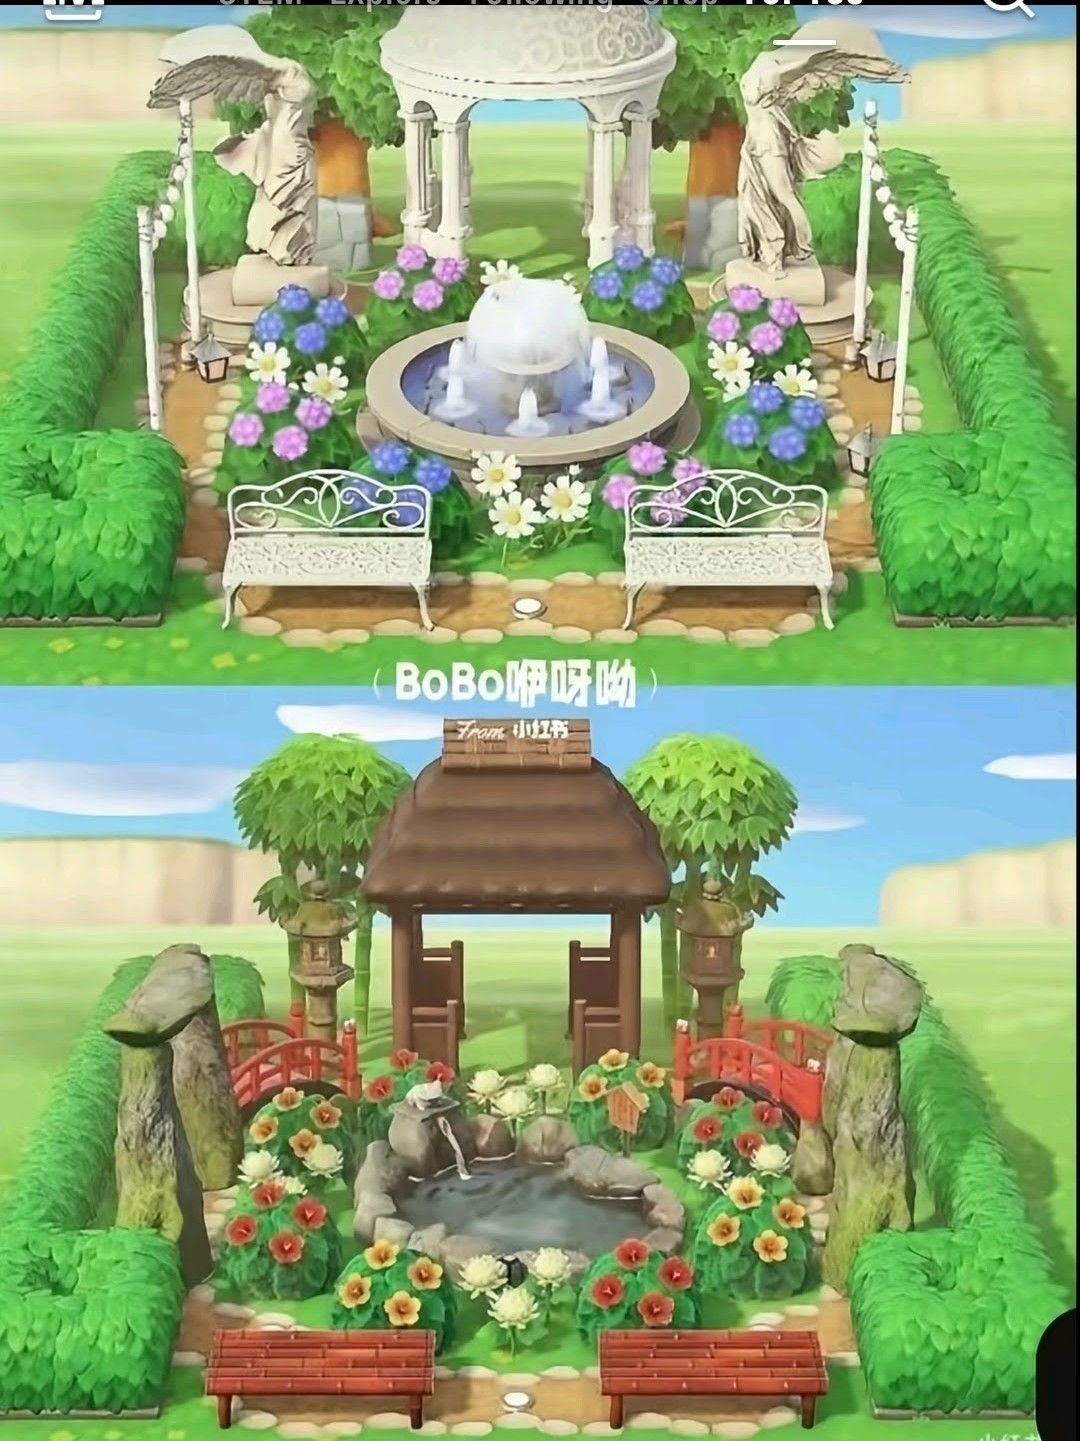
Image source: Pinterest
Where Do You Find the Gazebo in Animal Crossing?
Acquiring large architectural items in Animal Crossing: New Horizons requires utilizing the game's secondary currency system. Both the standard Gazebo and the Azumaya Gazebo are tied directly to the Nook Mileage program rather than the standard Bell economy found at Nook's Cranny.
To find these items, you must access the Nook Stop multimedia terminal located inside the upgraded Resident Services building. Once you interact with the terminal, select the "Redeem Nook Miles" option. Scroll down through the available inventory until you locate the outdoor structures. Both the Gazebo and the Azumaya Gazebo are priced at exactly 5,000 Nook Miles each. According to item database records from Game8, these items were introduced during the massive 2.0 free update, meaning players must ensure their game software is fully updated to access them.
It is important to note that these items will not appear in the terminal if you are still operating out of the initial Resident Services tent. You must progress your island's development far enough to construct the permanent town hall building. Earning the required 5,000 miles is relatively straightforward if you focus on completing the rotating Nook Miles+ tasks, such as catching specific fish, planting flowers, or assessing fossils.
Once purchased, the item will not appear in your pockets immediately. Like all Nook Mile redemptions, it will be mailed to your player's home and arrive in your mailbox the following morning. If you decide you no longer want the item, it can be sold at Nook's Cranny for 25,000 Bells, though trading it to other players is generally a more lucrative option.
Comparing the Gazebo and the Azumaya Gazebo
While they share a name and a price tag, the two available gazebos cater to entirely different island aesthetics. Choosing between them depends heavily on the overarching theme you are trying to achieve for your island's landscape.
The Gazebo (Western)
The standard Gazebo features a classic Western architectural design, characterized by an ornate wrought-iron dome and a solid stone base. It is a highly popular choice for players building elegant, fairycore, or structured city-park environments.
- Color Variants: 8 distinct options (including White, Black, Green, and Pink).
- Lighting: Features small lanterns that emit a soft glow at night.
- Ideal Pairings: Pergolas, Party Lights, Iron Garden Benches, and statues.
The Azumaya Gazebo
The Azumaya Gazebo draws inspiration from traditional Japanese garden architecture. It features a wooden frame, a sloped tiled roof, and an open, airy feel that blends seamlessly into natural environments.
- Color Variants: 4 distinct wood finishes (Natural, Dark Wood, Light Wood, and Red).
- Lighting: Does not feature built-in illumination.
- Ideal Pairings: Bamboo partitions, Stone Lanterns, Pine Trees, and Zen bridges.
From a technical standpoint, both items function identically within the game's evaluation systems. Placing either gazebo on your island contributes 0.5 development points toward achieving a 5-star island rating. If you choose to place them indoors (though their massive size makes this difficult in standard rooms), they each grant 221 points toward your Happy Home Academy (HHA) score.
How to Change the Color of Your Gazebo
A common point of confusion for players is the customization process for Nook Mile items. If you attempt to use standard Customization Kits at a DIY workbench, the gazebo will appear grayed out. Nook Mile items cannot be customized by the player directly.
To change the color of your gazebo, you must enlist the services of Cyrus, the master refurbisher. This requires unlocking the open-air market on Harv's Island.
After achieving a 3-star island rating and attending K.K. Slider's first concert, you will receive a letter from Harvey. Fly to his island via the airport and walk past his photography studio to discover the new plaza area.
Locate the Lloid gyroid collecting donations for "a husband-and-wife furniture refurbishing team." You must donate 100,000 Bells to reach the funding goal. The shop will open the following day.
Bring your gazebo in your pockets and speak to Cyrus. He charges a flat fee of 5,200 Bells to alter the color of either the standard Gazebo or the Azumaya Gazebo.
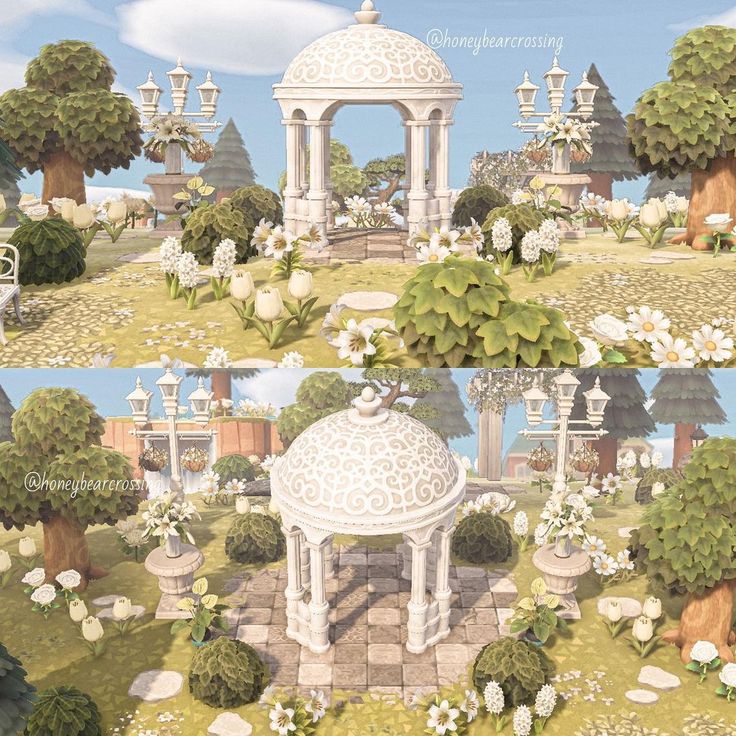
Image source: Pinterest
When you order the Western Gazebo from the Nook Stop, it will arrive in a clean, pristine color. However, Cyrus offers an exclusive "Rust" variation that makes the ironwork look heavily oxidized and weathered. This specific colorway ranks among the top choices for players building "abandoned," "post-apocalyptic," or "overgrown" island themes. You cannot order the Rust variant directly; it must be customized by Cyrus.
Why Can't I Place Furniture Under the Gazebo?
One of the most frequent frustrations voiced by the player community involves the physical footprint of these structures. Because the gazebo features an open design, players naturally want to place a small iron table and chairs underneath the roof to create a cozy seating area.
Unfortunately, the game engine does not allow this. Both gazebos occupy a strict 3.0 x 3.0 tile grid. While the collision mesh allows player characters and villagers to walk freely through the center of the structure, the game's placement system registers those 9 tiles as "occupied." Consequently, you cannot drop or place any other furniture items, bugs, fish, or standard items within that 3x3 square.
However, creative players have developed a highly effective workaround using the Custom Design Pro Editor. While you cannot place 3D furniture, you can place 2D custom designs on the ground beneath the gazebo.
To achieve this, you must lay down your custom patterns first. Open your Island Designer app or your custom designs app, and paint a 3x3 area with a pattern that mimics a picnic blanket, a wooden deck, or scattered leaves. Once the ground is painted, stand directly in front of the 3x3 area and place the gazebo from your pockets. The structure will drop perfectly over the custom paths, creating the illusion of a furnished or decorated interior floor. Speed build tutorials on YouTube frequently showcase this technique to add depth to outdoor builds.
Master the Cliff-Hanger Placement Technique
Because the gazebo requires a massive 3x3 footprint, finding the right location on a densely decorated island can be challenging. According to community discussions regarding placement mechanics, many players misjudge the size, assuming it requires a 4x4 area due to the visual overhang of the roof. The base is strictly 3x3.
One of the most visually striking ways to utilize this item is the "Cliff-Hanger" technique, which creates a scenic lookout point. To execute this properly, you must understand how terraforming interacts with large items.
First, use the Cliff Construction permit to build a promontory that is exactly 3 tiles wide and at least 4 tiles deep. You cannot place an item directly on the absolute edge of a cliff if the item's footprint exceeds the available flat space. The 3x3 area must be completely flat, with no rounded corners on the cliff edges where the gazebo will sit.
Stand on the fourth tile (the one furthest from the edge) facing the 3x3 space. When you place the gazebo, it will snap to the grid, sitting flush against the cliff's edge. This eliminates the awkward "grass gap" that often occurs when players try to center large items on uneven terrain. The result is a structure that looks like a built-in architectural feature of the cliffside, perfect for placing a telescope or a bench just outside the entrance.
Creative Design Ideas for Your Island
Integrating a massive structure into your island requires careful planning. Based on popular design trends curated by the community, here are several highly regarded thematic approaches for styling your gazebos.
The Secret Garden Lookout
Utilize the White or Green Western Gazebo as the centerpiece of a botanical area. Surround the 3x3 footprint with Glowing Moss, Vine DIY items (such as the Ruined Arch or Giant Vine), and a mix of hybrid flowers. By placing a custom dirt path underneath the gazebo, you create a natural, overgrown aesthetic that feels like a hidden sanctuary.
The Zen Meditation Spot
The Azumaya Gazebo in the Dark Wood variant is an excellent choice for Eastern-inspired islands. Carve out a small 5x5 island in the middle of a custom pond using the Waterscaping permit. Place the Azumaya Gazebo in the center, accessible only by a Zen Bridge. Surround the water with Bamboo trees, Deer Scares, and Tall Lanterns to complete the tranquil atmosphere.
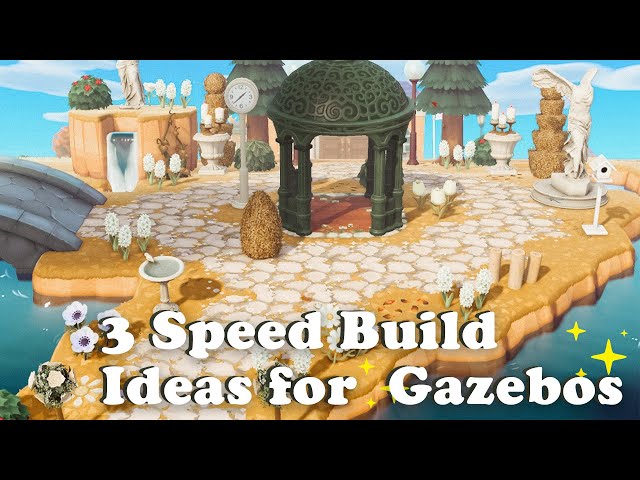
Image source: YouTube
The Abandoned Industrial Park
For players leaning toward a grunge or post-apocalyptic theme, the Cyrus-exclusive Rust variant of the Western Gazebo is a top-tier option. Pair this rusted structure with the Ruined Decorated Pillars, scattered Manhole Covers, and custom design codes that mimic cracked asphalt or toxic spills. The contrast of the elegant architecture with the decayed texture creates a compelling visual narrative.
The Grand Wedding Altar
The Pink or White Western Gazebo serves beautifully as a wedding venue. Create a long aisle using a custom white wooden plank code leading up to the structure. Line the aisle with Nuptial Bells, Wedding Flower Stands, and Turkey Day Chairs. While you cannot place the Wedding Table inside the gazebo, placing it immediately in front of the structure creates a cohesive event space.
Unlocking Gazebos Through Happy Home Paradise
If you are running low on Nook Miles or simply prefer to acquire items through gameplay progression, the Happy Home Paradise (HHP) DLC offers an alternative acquisition route. As you design vacation homes for various villagers, their preferred furniture items are added to Wardell's catalog, allowing you to order them using Poki.
To unlock the Azumaya Gazebo in the DLC, you must accept a design prompt from specific villagers who favor Eastern or Zen aesthetics. Designing a home for Coco, Gladys, or Tiansheng will add the Azumaya Gazebo to your available inventory.
To unlock the standard Western Gazebo, you should look for villagers who request elegant, park, or theme-park designs. Completing vacation homes for Julian, Muffy, or Pietro will successfully unlock this item. Once unlocked, you can purchase them from Wardell's shop on the archipelago, bypassing the Nook Stop entirely.
Frequently Asked Questions
Final Thoughts
Integrating a gazebo into your island layout requires an understanding of the game's spatial mechanics, but the visual payoff is well worth the effort. By leveraging customization and clever terraforming, these structures can elevate any aesthetic.
- Redeem 5,000 Nook Miles at the Resident Services terminal to acquire either variant.
- Clear a perfectly flat 3.0 x 3.0 tile area to ensure the item places correctly without terrain conflicts.
- Paint custom floor codes on the ground before placing the structure to create the illusion of an interior floor.
- Visit Cyrus at Harv's Island to access exclusive color palettes, particularly the highly sought-after Rust variant.
- Place these structures strategically to earn 0.5 development points toward your 5-star island rating.